Iridology
What is Iridology - Iridology Resources -Iridology Services - Reading the Iris - Iridology Brain Zones - The Eyes Do Change
What is Iridology - Iridology Resources -Iridology Services - Reading the Iris - Iridology Brain Zones - The Eyes Do Change
“...In the immediate future, when our planetary life is somewhat calmer, the whole subject of vision and registration by the eye of the inner worlds will receive an enormous impetus; and conditions -- hitherto undreamed of -- will be revealed. Man will enter into a new life and a higher era of understanding. The teachings concerning the iris of the eye is an indication of this...”
--Alice Bailey, Esoteric Healing, 1958
--Alice Bailey, Esoteric Healing, 1958
DIY Iridology Resources - Free Iridology Charts & Iridology Books (pdf downloads)
DIY Iridology Resources
Iridology certainly is a lifetime study. However - learning a few basics will enable you can learn how to interpret signs in own eyes and even those of family and friends.
DIY Iridology:
1. Obtain good quality Iris Photos
2. Discover your Constitution and Genetic Heritage
3. Map your iris
4. After you have mapped your iris you can learn more about Reading the Iris here.
DIY Iridology:
1. Obtain good quality Iris Photos
2. Discover your Constitution and Genetic Heritage
3. Map your iris
4. After you have mapped your iris you can learn more about Reading the Iris here.
Iris Photos - How To (For all eyes)
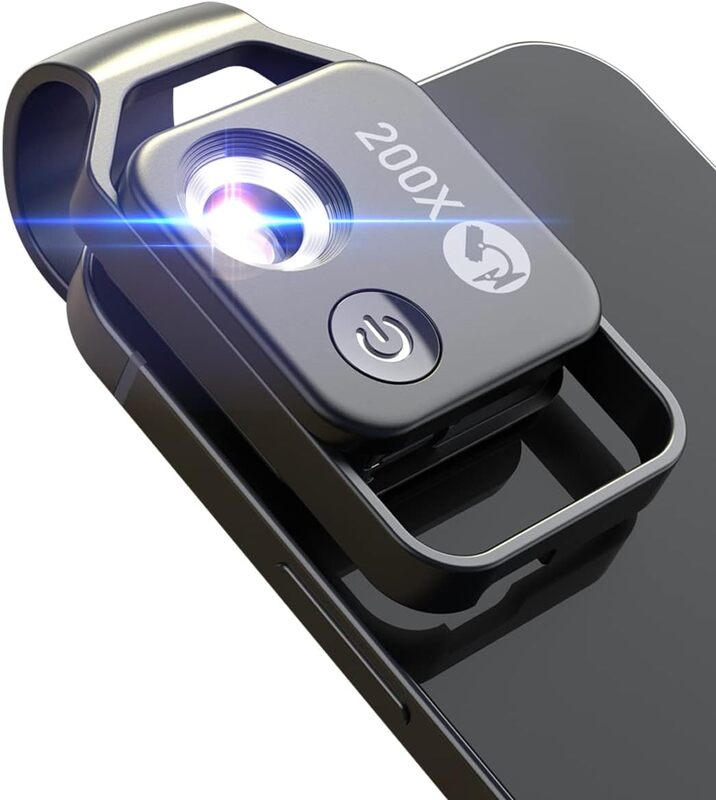
How to Take Great Iris Photos with a Cell Phone or Camera!
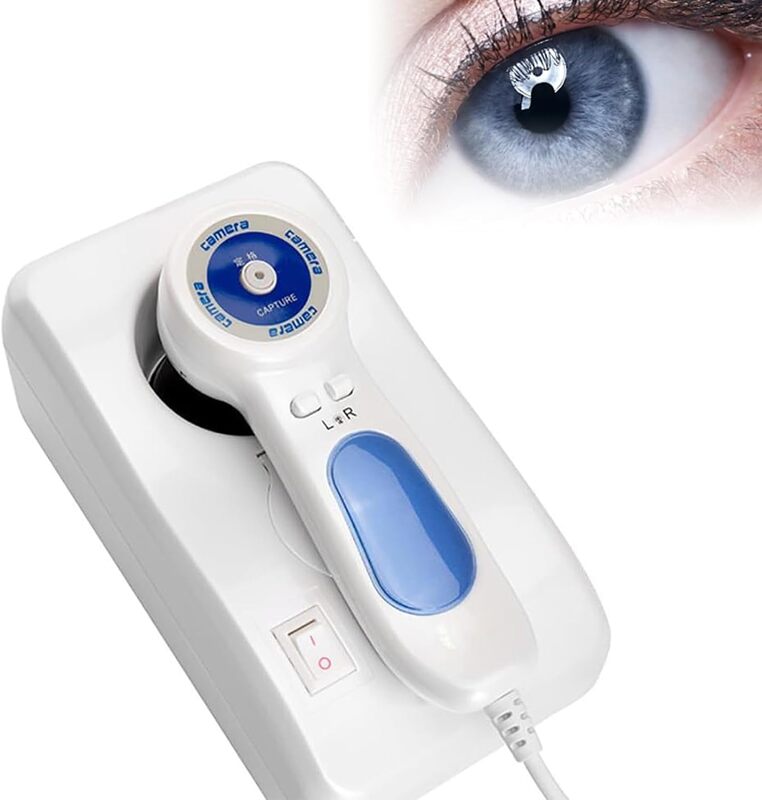
Iris photos can be taken with a camera or a cell phone. These photos may not turn out as detailed as those taken with a professional iridology camera but if they are taken using the following guidelines, they should be adequate for a reading.
This video features a picture of brown eyes taken with a Samsung phone.
Guidelines for taking photos:
1. The camera should be in focus, usually about 6 inches away from the face is as close to the eye as you can get while still maintaining focus. (Blurry photos cannot be read)
2. If using a cell phone remember to tap the screen so it is focusing directly on the eye.
3. One eye at a time!
4. Do not use zoom (we will zoom and crop the photos after we receive them)
5. Shine a pen-light or small flashlight at an angle, not directly from the side or directly in front of the eye. This adds more definition and depth to the photo.
6. For brown eyes photos should be taken in a dimly lit room, no outside light from a window or lamp, this will cause reflections and glare. A small amount of overhead lighting is usually perfect, but you can play with variations of a dimly lit room to a darkened room.
7. Blue eyes follow the same protocol but play around with lighting. It does not need to be as dimly lit. You may be able to get a better photo using a flash from your camera phone. Some excellent photos of blue eyes have used either just a flash or the flash with the addition of a pen light.
8. The end result should look similar to the photo taken in the video. The fibers and markings in the iris are visible and the photo is clear, not blurry.
Hope that helps, looking forward to seeing your results!
The following video is provided by Dr. Morse’s Clinic and shows the previous steps in detail. The camera used in the video is from a Samsung phone.
Step #1 - Iris Photos
Step #2 - Discover Your Constitution
Step #3 - Map Your Iris
Step #4 - Reading the Iris
After you have completed the first three steps you learn more about Reading the Iris
Free Iridology Charts - High Resolution
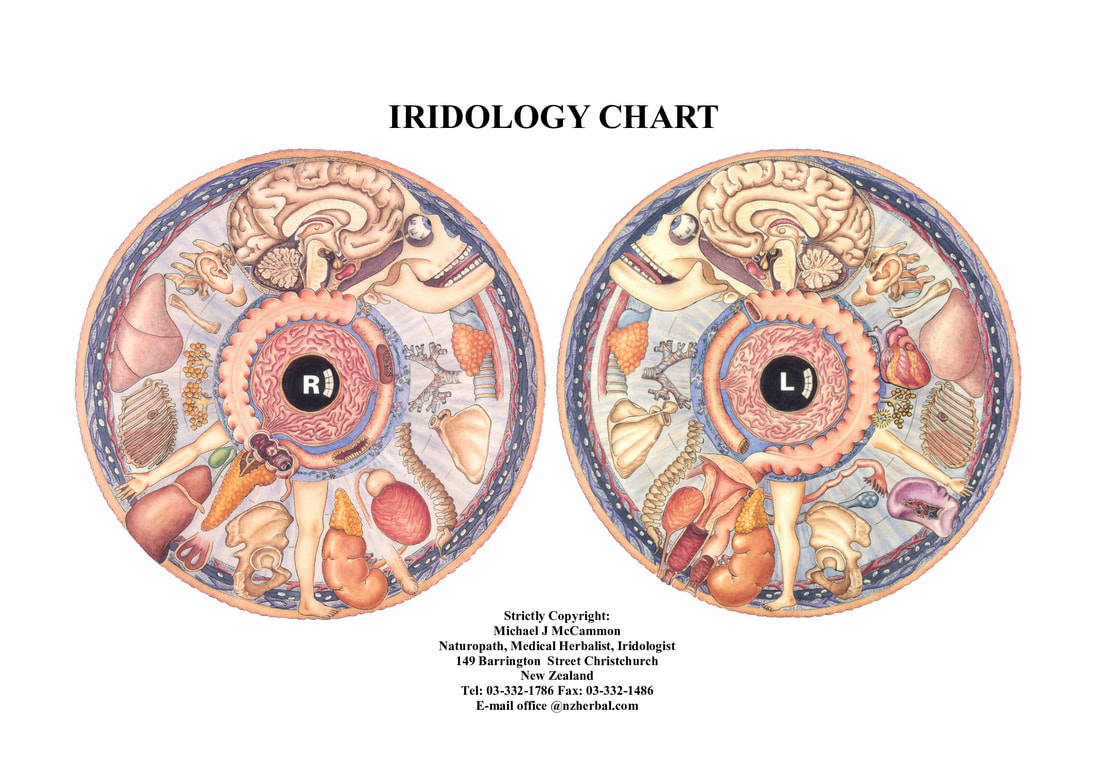
Free Iridology Books - PDF Downloads
Resources and Recommended
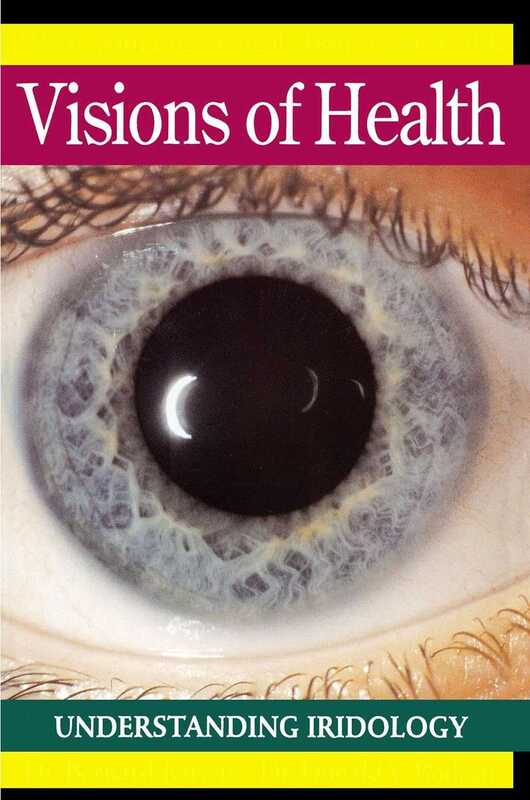
The following texts have become my Iridology bibles: Iridology: The Science and Practice in the Healing Arts, Volumes 1 and 2 by Dr. Bernard Jensen; Iridology, A Complete Guide, by Farida Sharan. Dr. Jensen also published Visions of Health - Understanding Iridology, which is excellent as an introduction to Iridology, as well as Iridology Simplified which is more of a pamphlet size intro to Iridology, also excellent. The most comprehensive of all texts mentioned here, a must have text for the serious student of Iridology, is Jensen's Iridology, volume 2.

